

Manipulating Graphics
I want to walk through a couple of problems that are often encountered with images; the first is when the only client logo you have been given is a jpg with a white background but the new website has a different background. The second is the creation of a tile to be used in a tiled background.
Creating transparent backgrounds
Starting with a jpg file and re-saving as a gif or preferably a png file will enable an transparent background to be used.
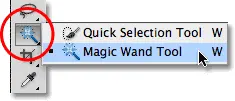
2. Use the “Magic Wand Tool” in Photoshop or the Fuzzy Selection Tool in GIMP to select the white region of the image and hit delete.

3. There we are job done but is it.
4. Let’s just slide a black background layer in there for a minute. Ah, there is still a lot of stuff left behind. Now we could “undo” the delete and widen the tolerance of the selection or use the eraser tool to remove the remaining unwanted pieces.
5. The completed job but it’s not brilliant even when starting with a large image. For the best results redrawing the logo in Illustrator or Inkscape should not be too hard for a simple logo like this one.
To save on the work always try and get a layered PDF or TIF file to work from as it will deliver much better results.
Tiled Background
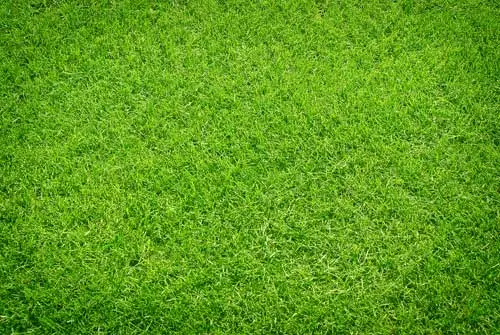
When you want to have a textured or patterned background you can do it by having a very large and website slowing image or you can use a repeating u201ctileu201d. The benefits of having tiles are that they are smaller in file size and there is no restriction on page height as they will continue to repeat as you add more content to the page. So letu2019s say, for example, we want a grass background for a golf course website and we have found a nice large grass image. Itu2019s a big image so we reduce it in size to 500 pixels wide.
2. So lets use it as a tile, we’ll put four images together.
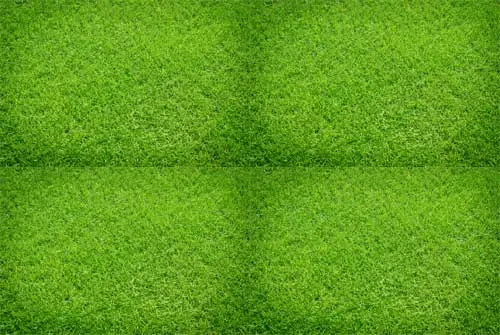
Oh that’s not good; talk about being able to see the joins!
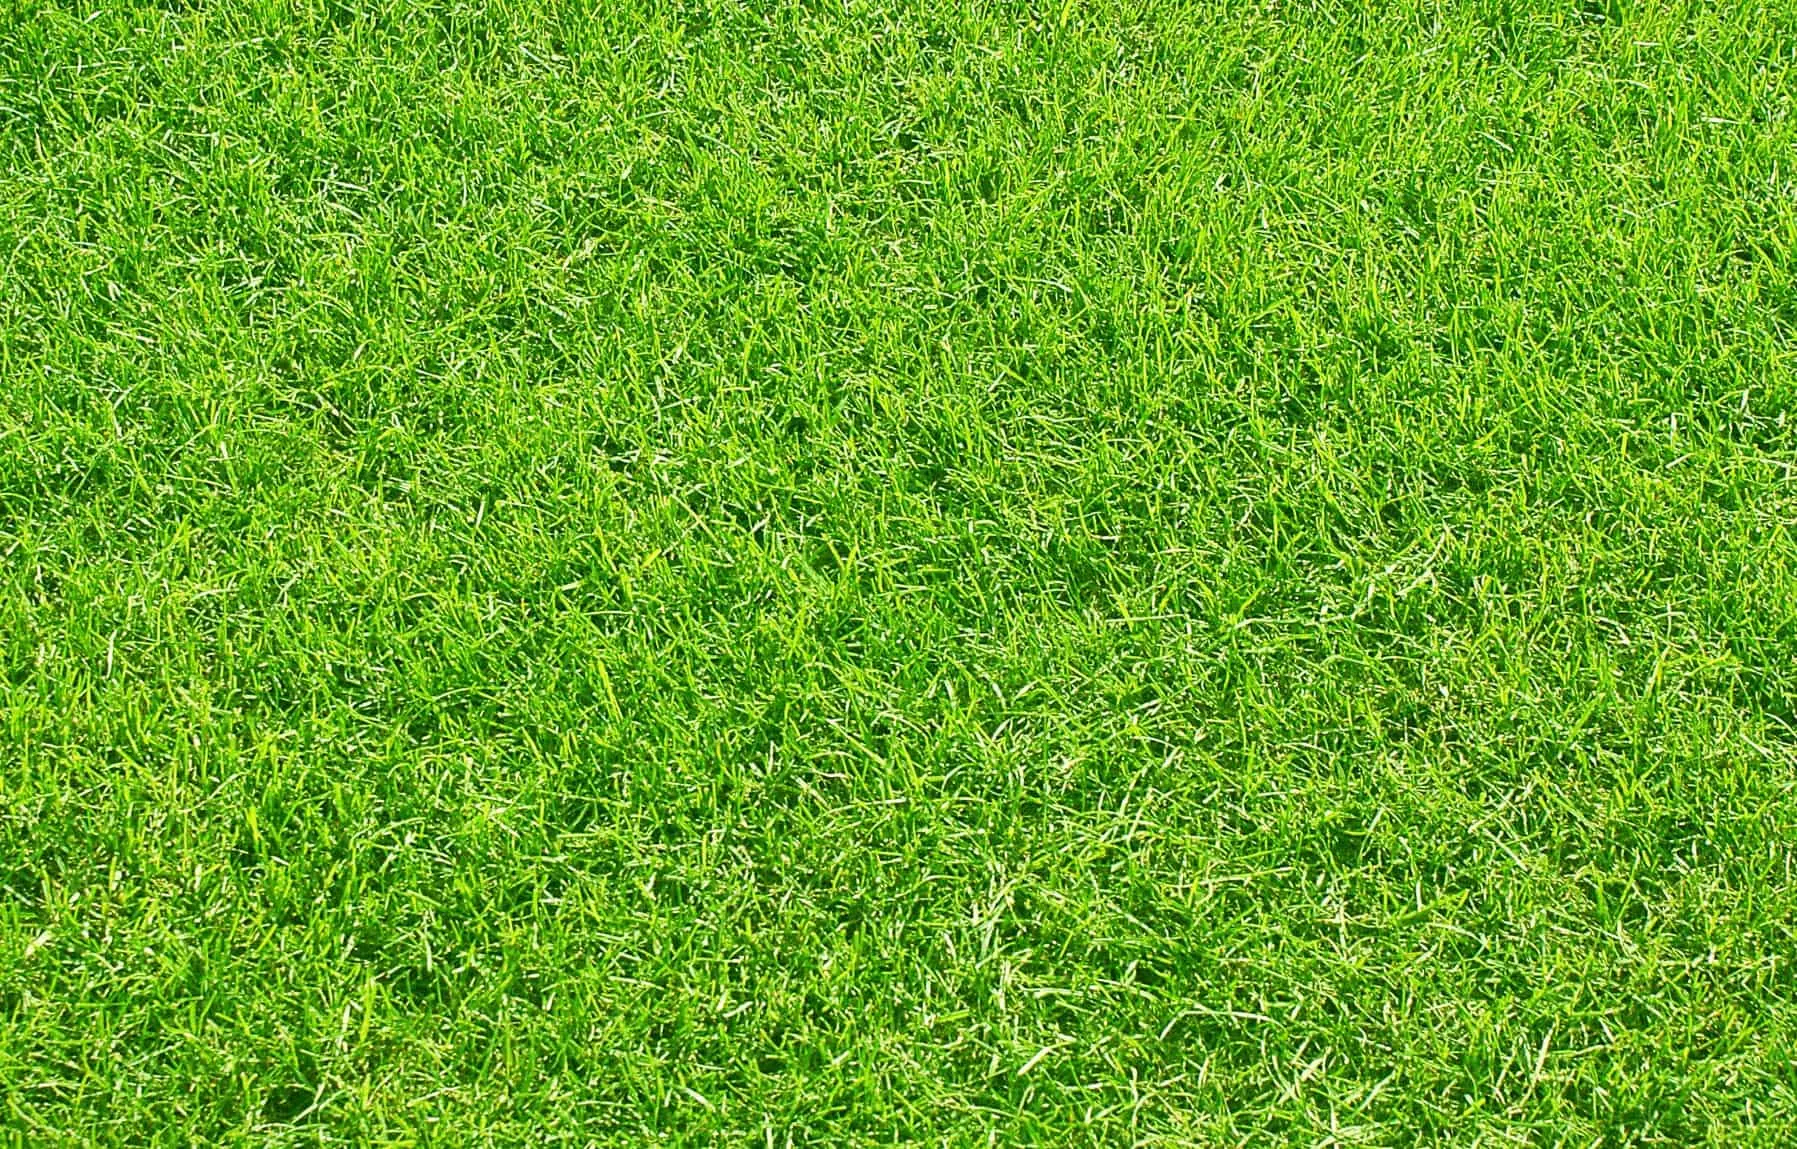
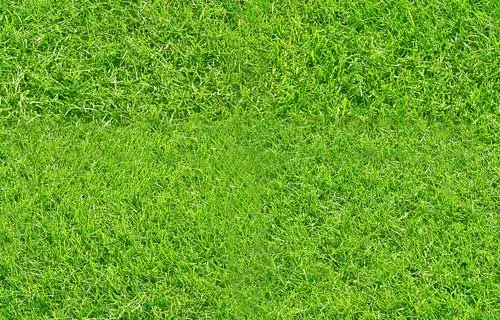
3. Any image you choose to make into a tile needs to to have an even tone. So lets crop the centre out of the image we started with.

4. Now we have a more even tone across the whole image.
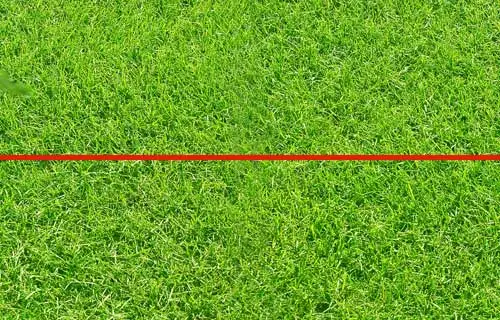
5. Cut the image into two roughly equal parts vertically
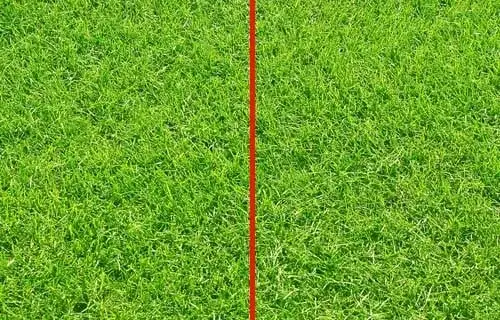
6. Here we can see the two halves; the arrows point to the two edges that match exactly.
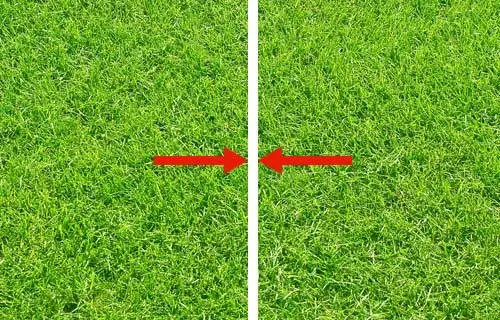
7. Move the two halves of the image to their opposite sides. The two arrows point to the matching edges.
8. Then using the cloning tools “smooth out” any small mismatched down the centre join and merge the two parts into a single image.
9. Now we repeat the process on the horizontal axis.
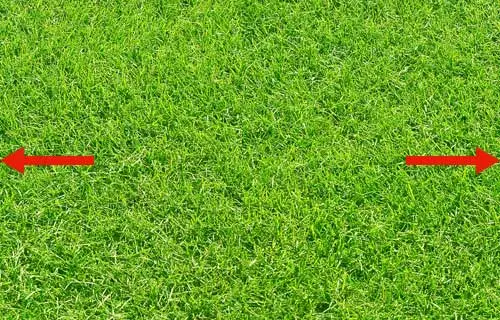
10. Cut the image into two halves horizontally the two arrows point to the matching edges.

11. Swap the top and bottom halves the two arrows point to the matching edges.

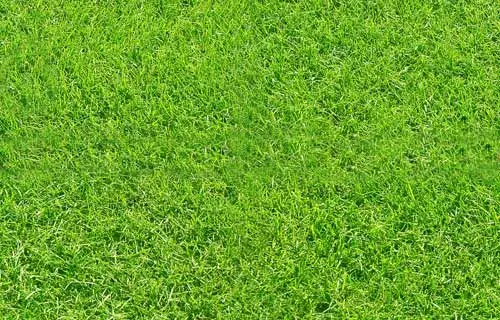
12. Smoothing out the horizontal join leaves the completed tile.
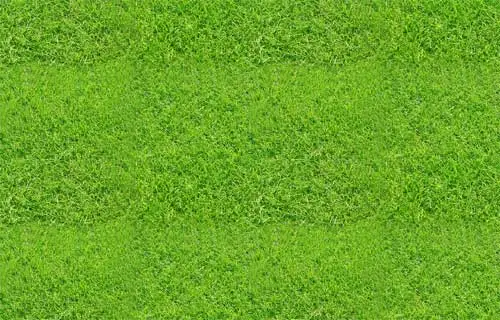
13. Lets take four copies of the image.

14. Tiles match on the edges. There is still a visible pattern to the grass but not the joins.
Recent Comments