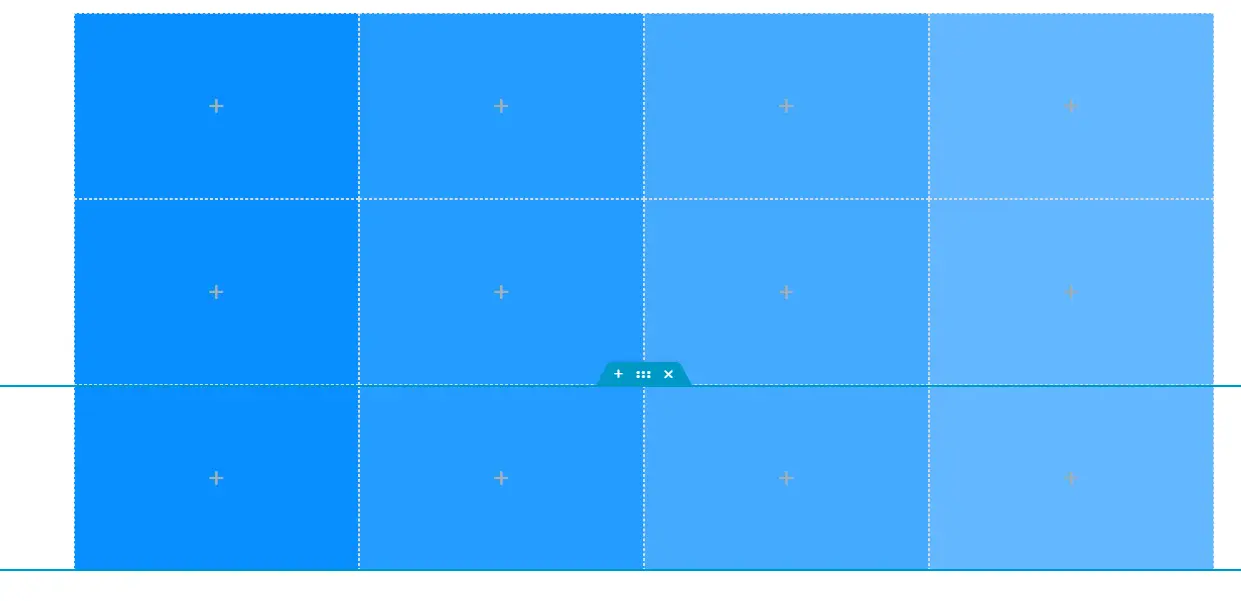
Add a Parent Container
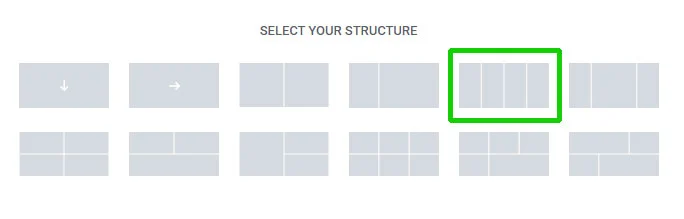
Add a new container with four child containers
Zero Spacing
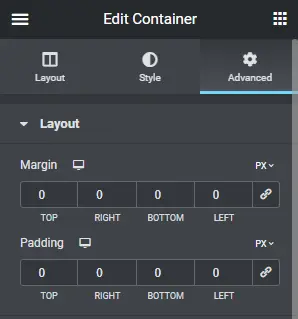
Set the Padding and margins on the PArent and the child containers to zero
Zero Gap
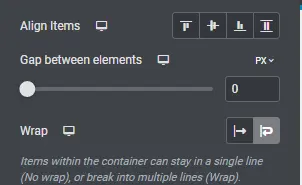
Set the Parent container gap between widgets to zero and "wrap" on

Background Colours
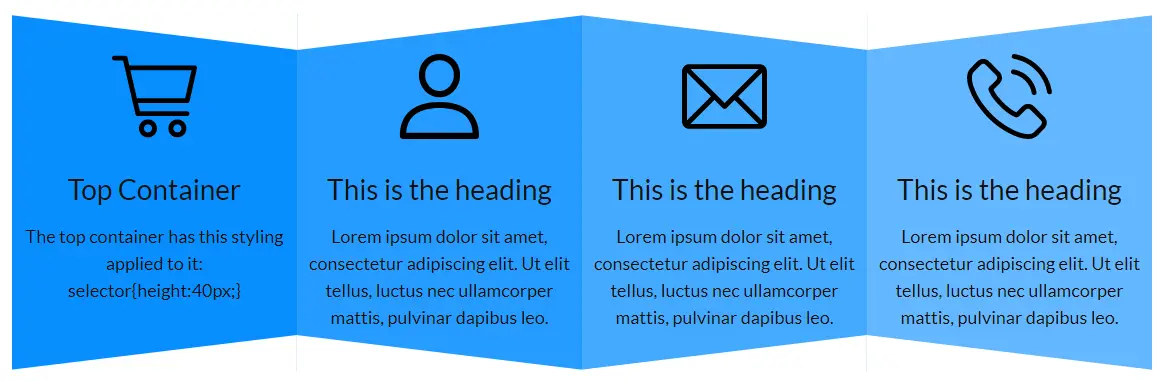
Set the background colour of each of the child containers. In this case #088FFE, #259CFF, #44AAFF, and #63B7FF.
Duplicate Parent
Duplicate the parent container twice.
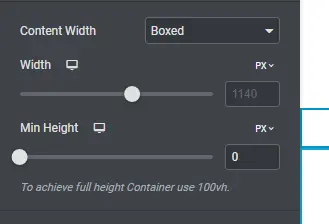
Minimum Height
Set the minimum height of the top and bottom parent containers to zero
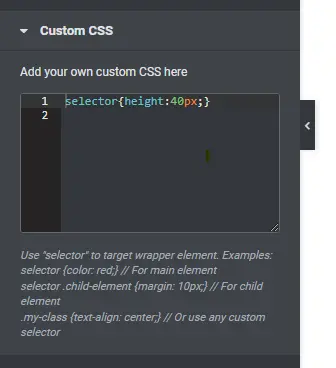
Custom Code
Either in the Custom CSS of both the Top and Bottom parent containers enter the code "selector{height:40px;}" or create a class in the Site Custom CSS .myNarrowRows{height:40px;} and add that class to both the upper and lower parent containers
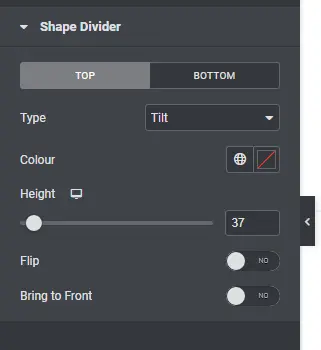
Shape Divider (1)
In the Upper Row, add a shape divider to child containers 1 and 3 Top, Tilt, Height 37px
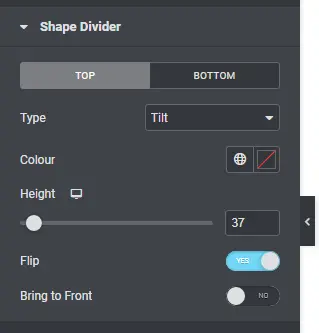
Shape Divider (2)
In the Upper Row, add a shape divider to child containers 2 and 4 Top, Tilt, Height 37px, Flip
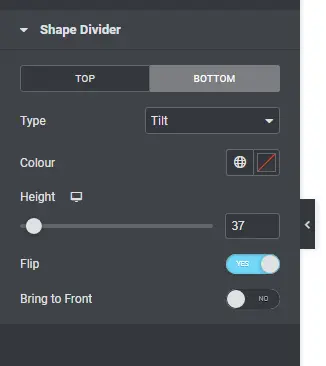
Shape Divider (3)
In the Lower Row, add a shape divider to child containers 1 and 3 Bottom, Tilt, Height 37px, Flip
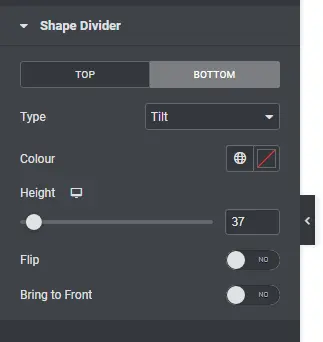
Shape Divider (4)
In the Lower Row, add a shape divider to child containers 2 and 4 Bottom, Tilt, Height 37px
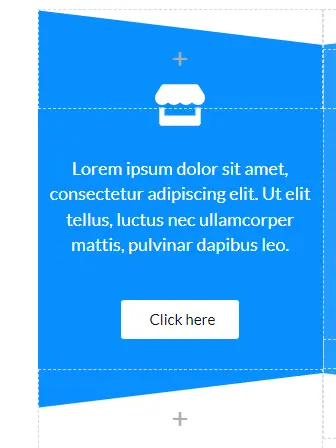
Middle Row Content
Add your content to each of the Middle Row child containers. Shown are an Icon Widget, a Text Block Widget and a Button Widget. Adjust the height of the Middle Parent Container to suit your content and adjust the justification to suit your design.